Installing a backdrop in an at-home dance space (on the cheap and easy)
With coronavirus cases spreading again, we are all on pins and needles as we wonder if/when the axe will fall; here in New Jersey, most of us fully expect that dance schools will be forced to shut their doors again until the spike in COVID-19 cases stabilizes somewhat. Back in March, we were all caught off guard when the world essentially shut down; like most families, I did not have a dedicated space set up for my girls to practice in, and I scrambled to set up an area that would suffice. With a small house, that’s quite a challenge (we wound up moving the table and chairs out of the dining room each night for their Zoom classes), but there were serious drawbacks to their being there (little depth to allow for the camera to catch both of their whole bodies, an exasperated mom passing in front of the camera because she dared to want a drink from the kitchen, a spoiled beagle lying down on their yoga mats whenever their backs were turned, etc.). But with that period of time in the rearview mirror, I knew that it would just make sense for us to have a better dance space (even when the world isn’t in the grips of a global pandemic). After having a discussion with my fiance (who also happens to be a contractor), we worked to create a dance space in the basement (see Completely Floored). After the dance floor was laid down, I purchased a 6’ x 8’ mirror from The Mirror Company (they delivered and installed it). Even then, though, I knew something was missing: a solid background or backdrop.

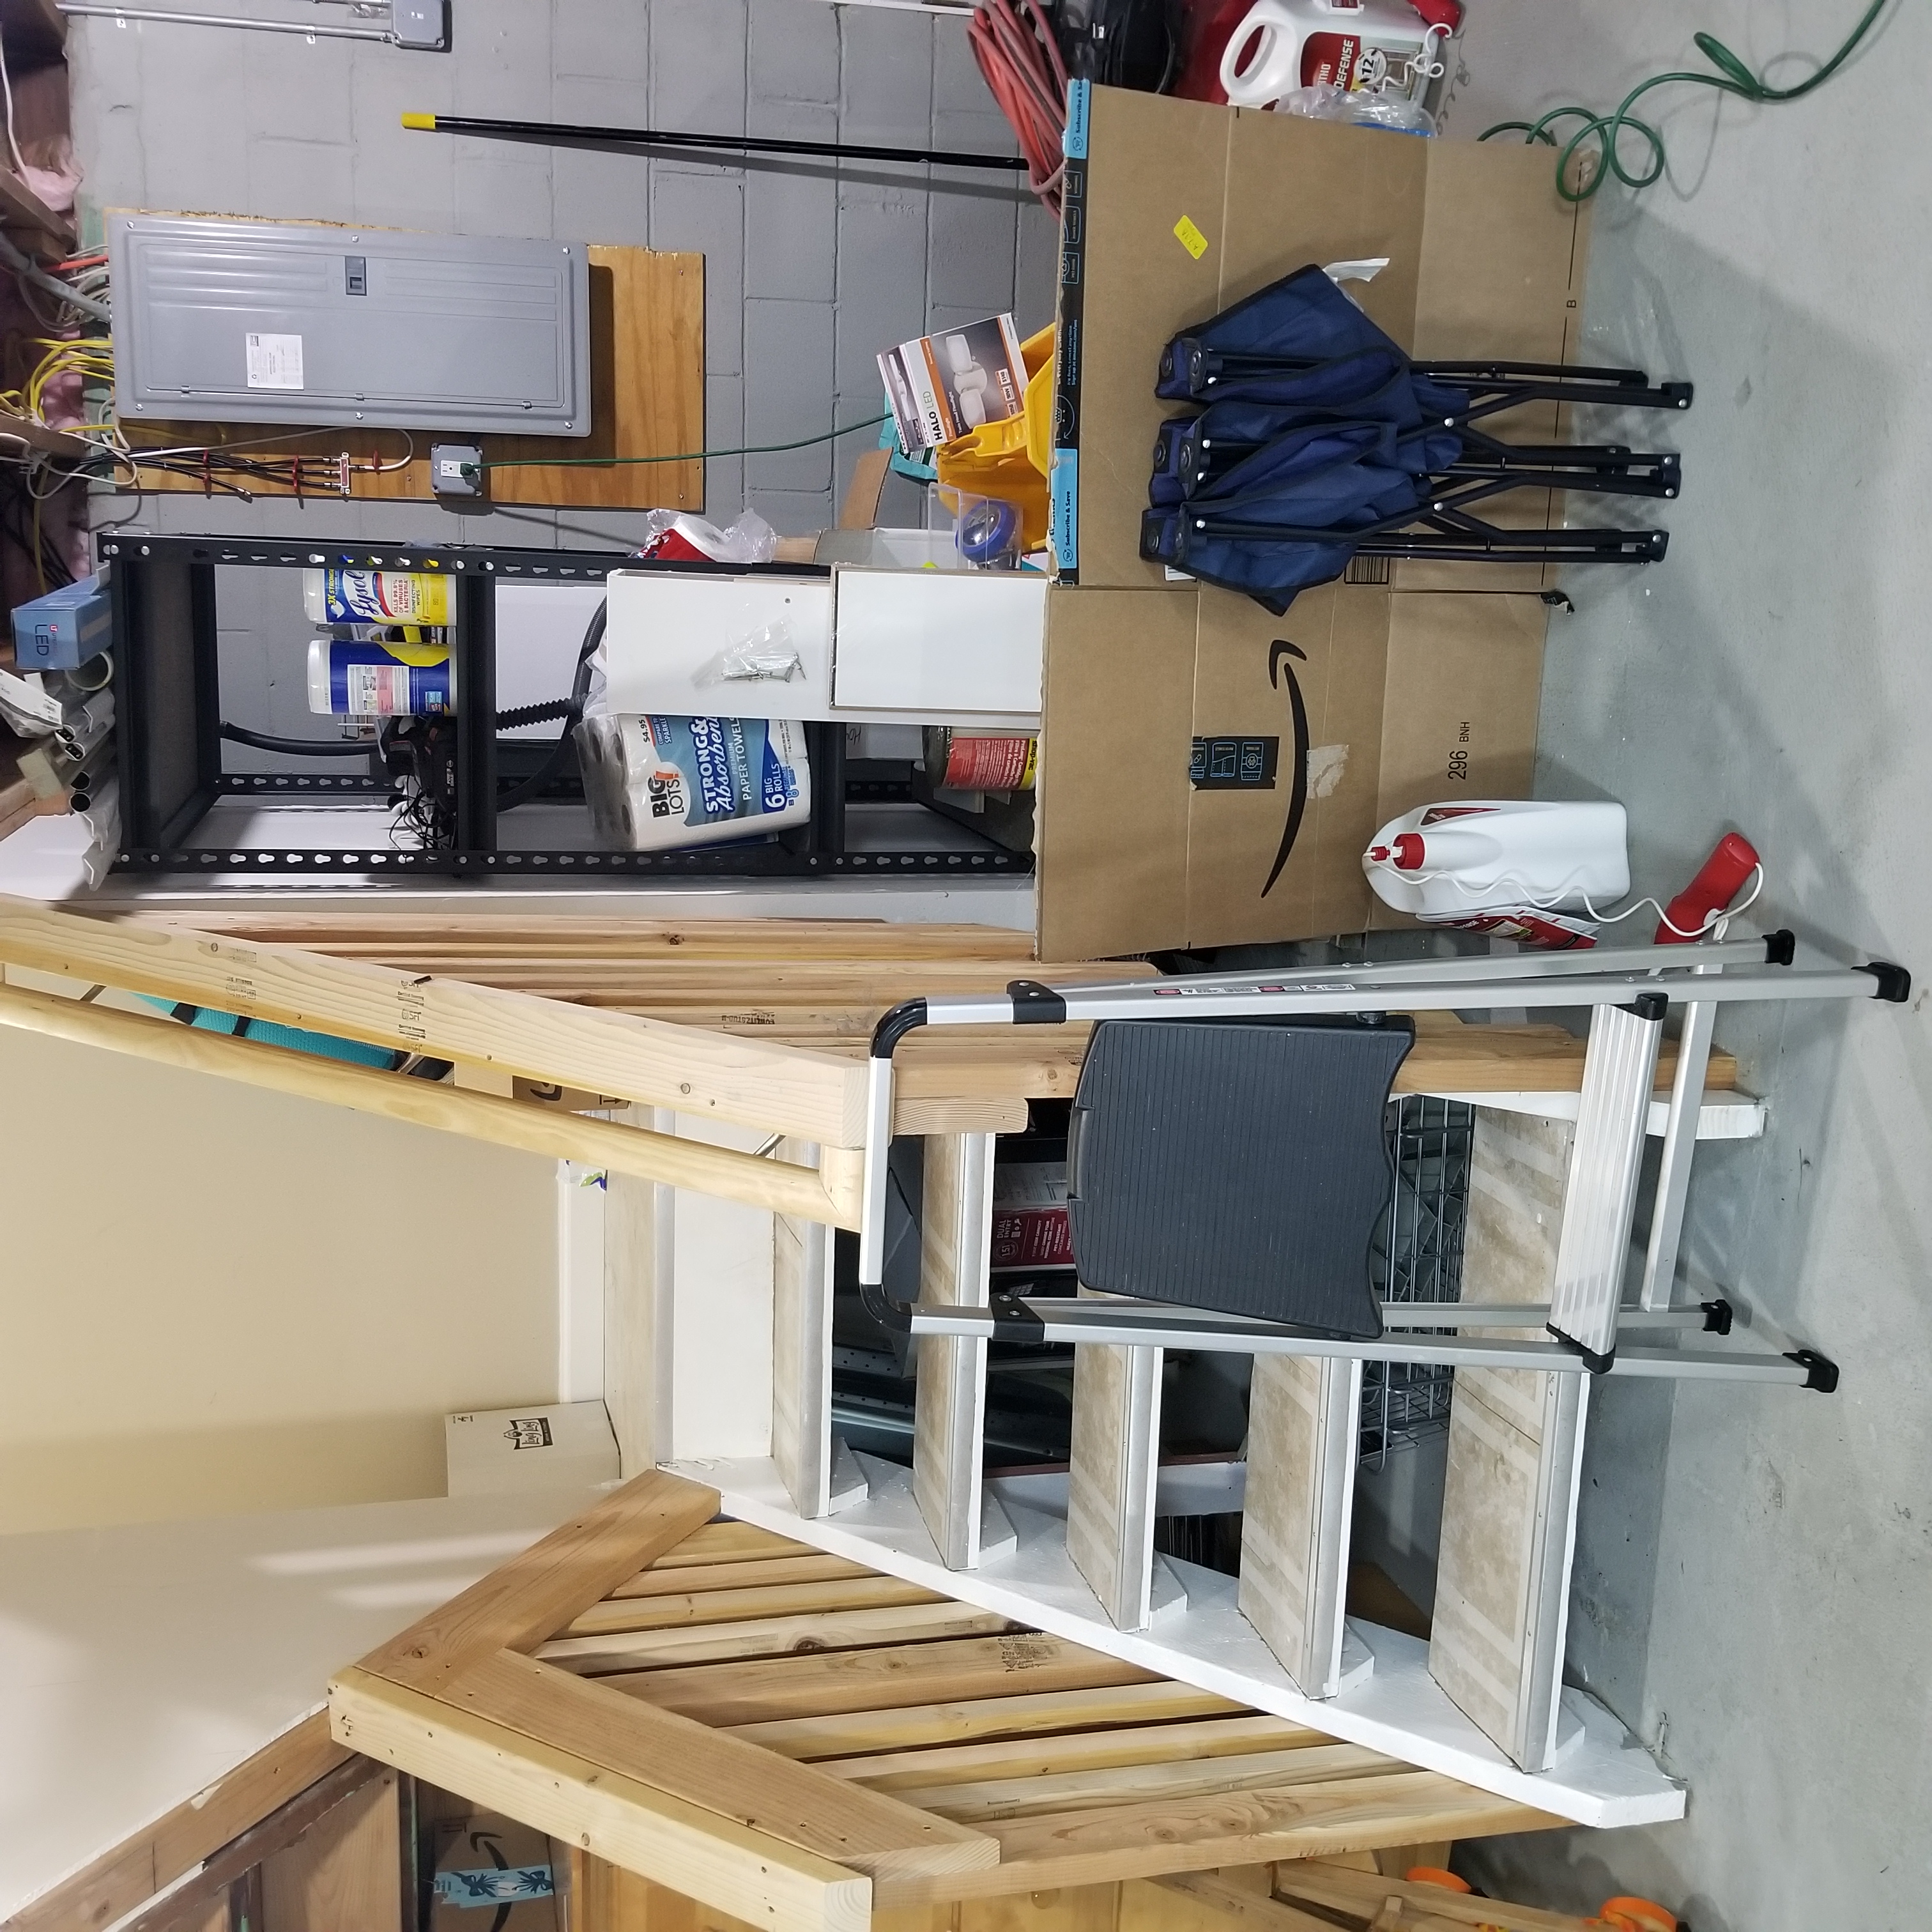
When I would record my girls dancing, behind them was an unsightly jumble of everything that you would expect in a basement: tools, soccer nets, bicycles, the overflow packages of toilet paper and paper towels (hey, it’s a pandemic), jugs of weed killer, my washer and dryer, etc. During a Zoom class in the spring, one of my girls’ teachers remarked how it was difficult to make out their bodies (and therefore, check their placement and alignment) because of the mish-mosh of stuff behind them obscuring their shapes. So as much as I didn’t want to ask Dave to invest more of his time and effort into the dance space, I knew that I had to for this backdrop project. Without hesitation, he understood the dilemma and agreed to remedy the problem (he loves his girlies).
The Nuts and Bolts
After hashing out some possible solutions, we decided that the best way to go about it would be to install some cheap curtain rods along the main beam that runs across the basement ceiling, and find dark, inexpensive curtains to hang from the ceiling to the floor. To accommodate camera angles (the space isn’t very deep), we figured we would run the curtain line far wider than the dance space itself (which is 8’ x 12’). It was the best possible solution, given the space constraints.
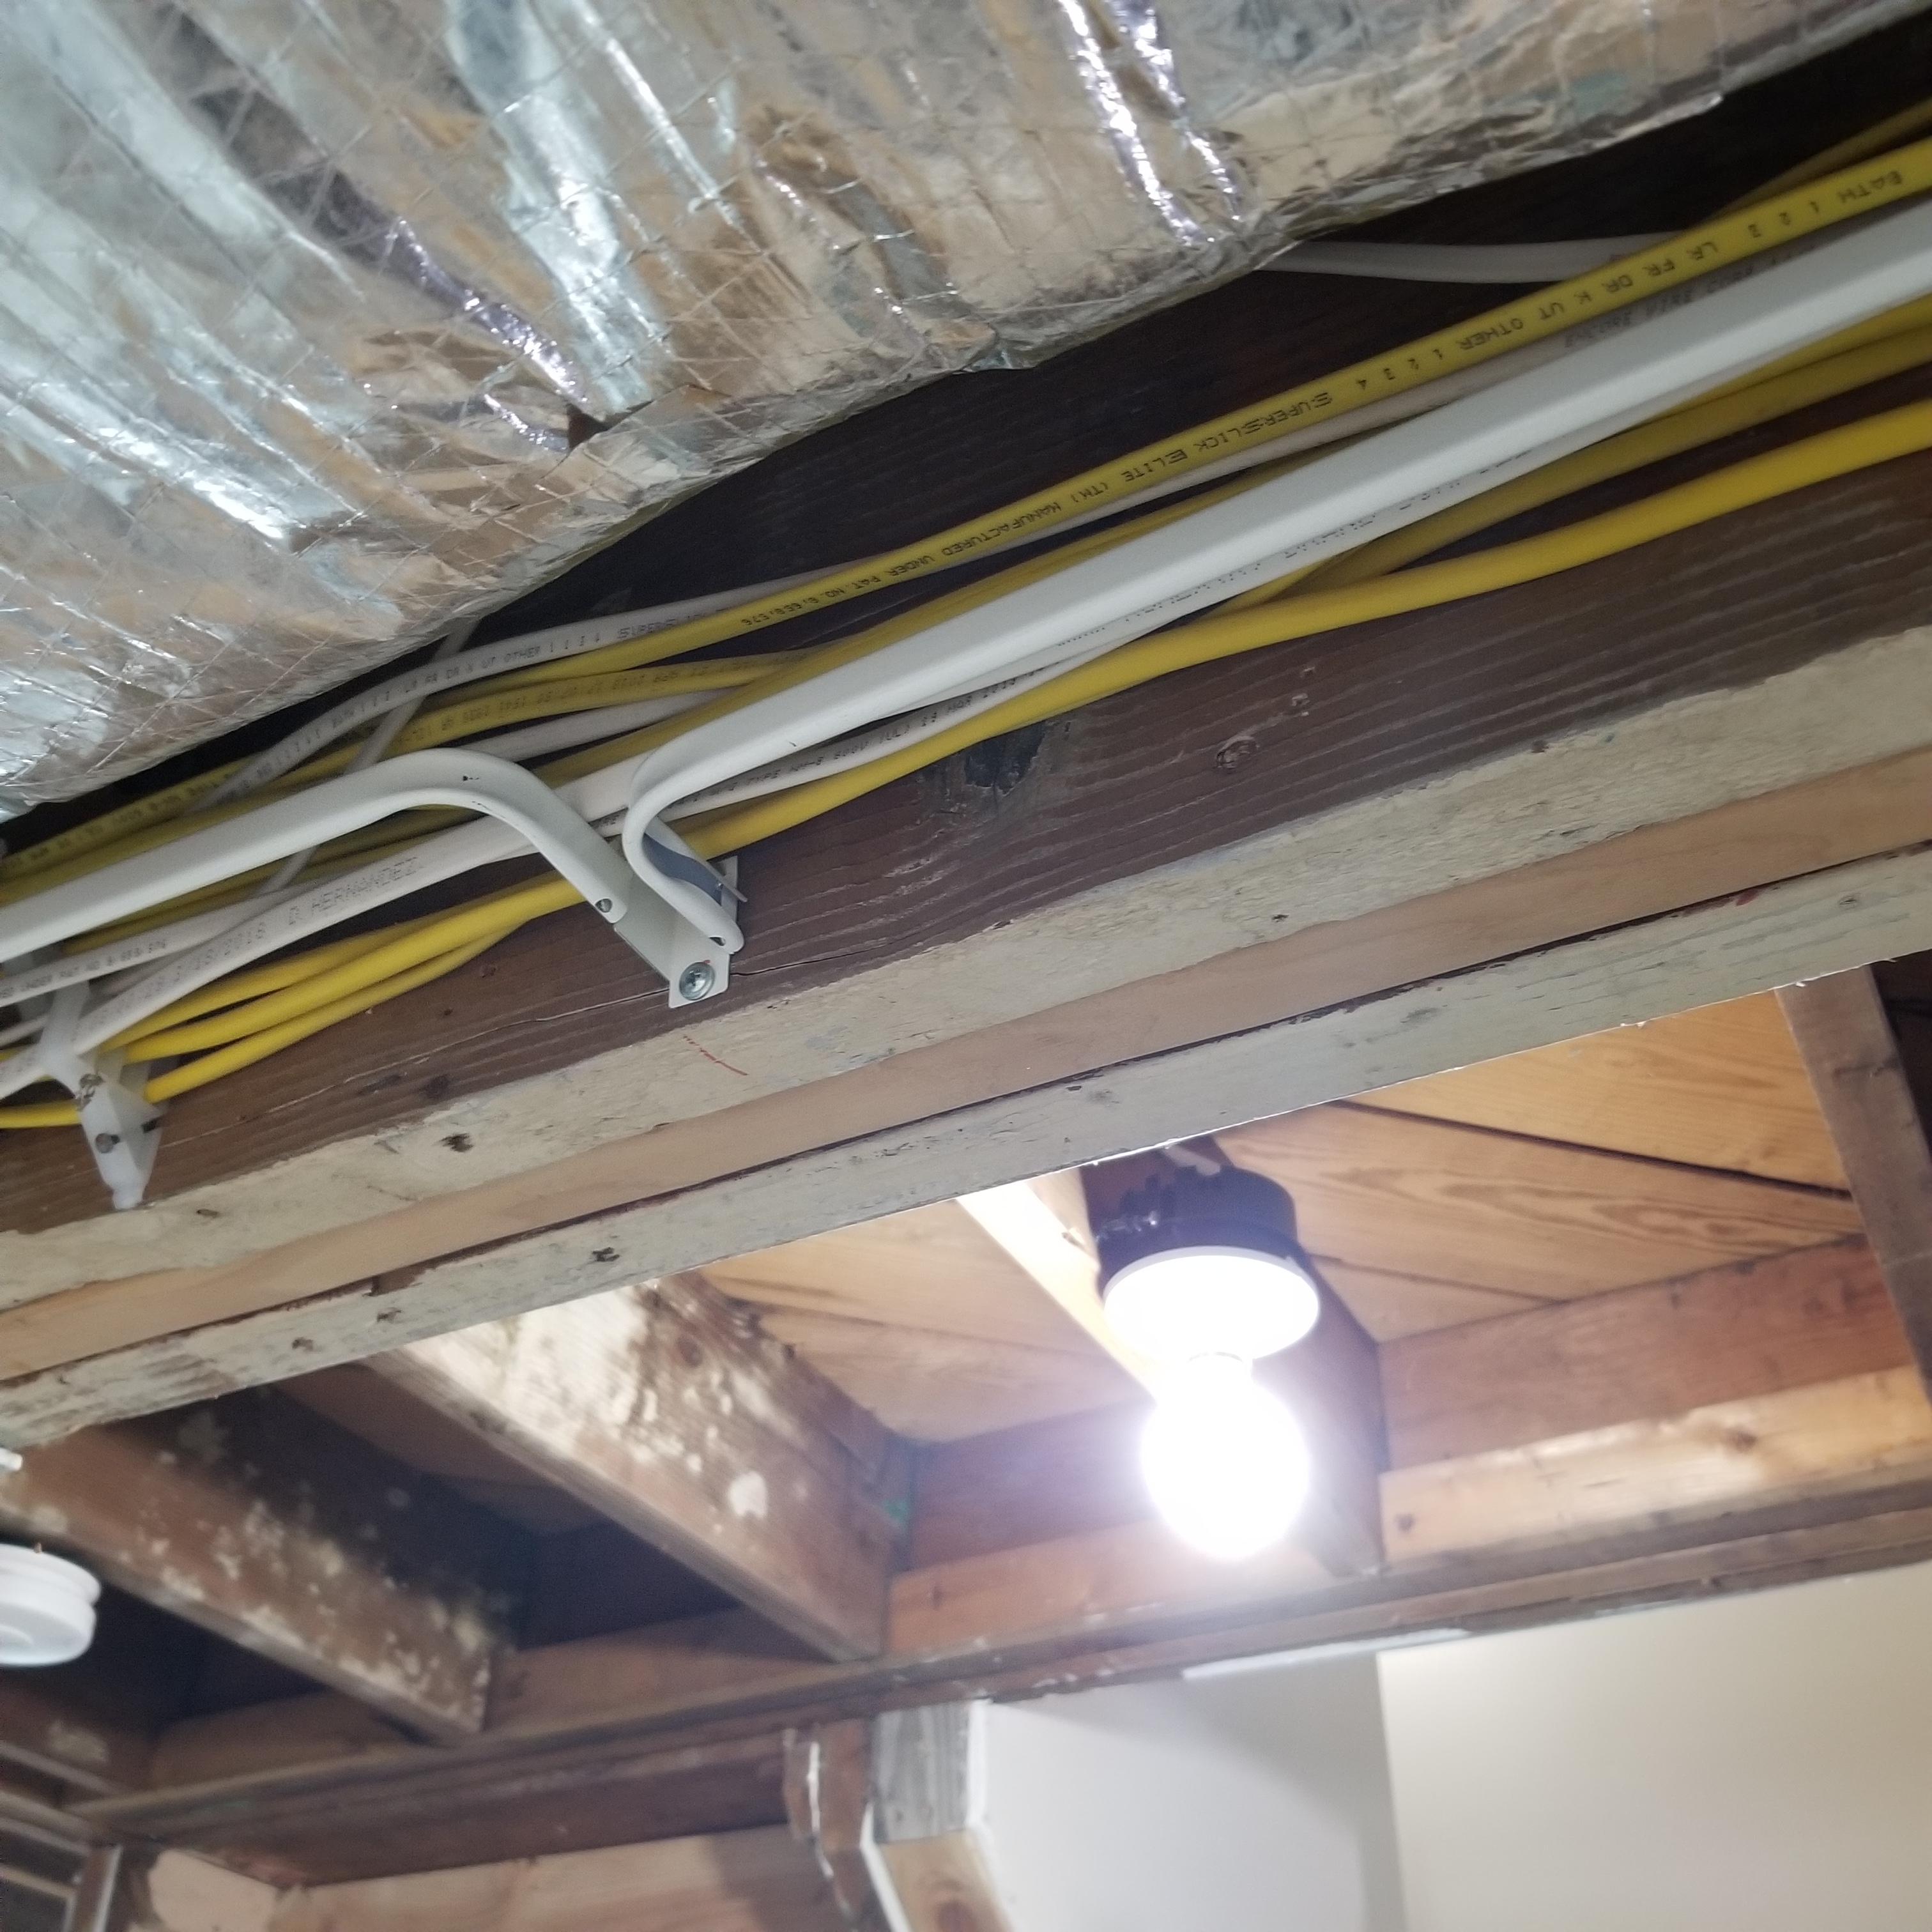
At first, we were planning to install the rods behind the beam; the front of the beam was close to the ductwork for the heating/cooling system, and would be more difficult to screw in on that side. But there was a problem – there are three unsightly poles that hold up the beam, and if we installed the curtains behind them, the poles would be in the shot when we would take photos or videos (my girls have some social media accounts and post regularly; see TikTok: Why I Caved for that battle). Even though it would make the installation more difficult, we had to switch the rods to the other side of the beam. Despite this slight inconvenience, Dave was able to install the rods pretty quickly.
Curtains, Please!
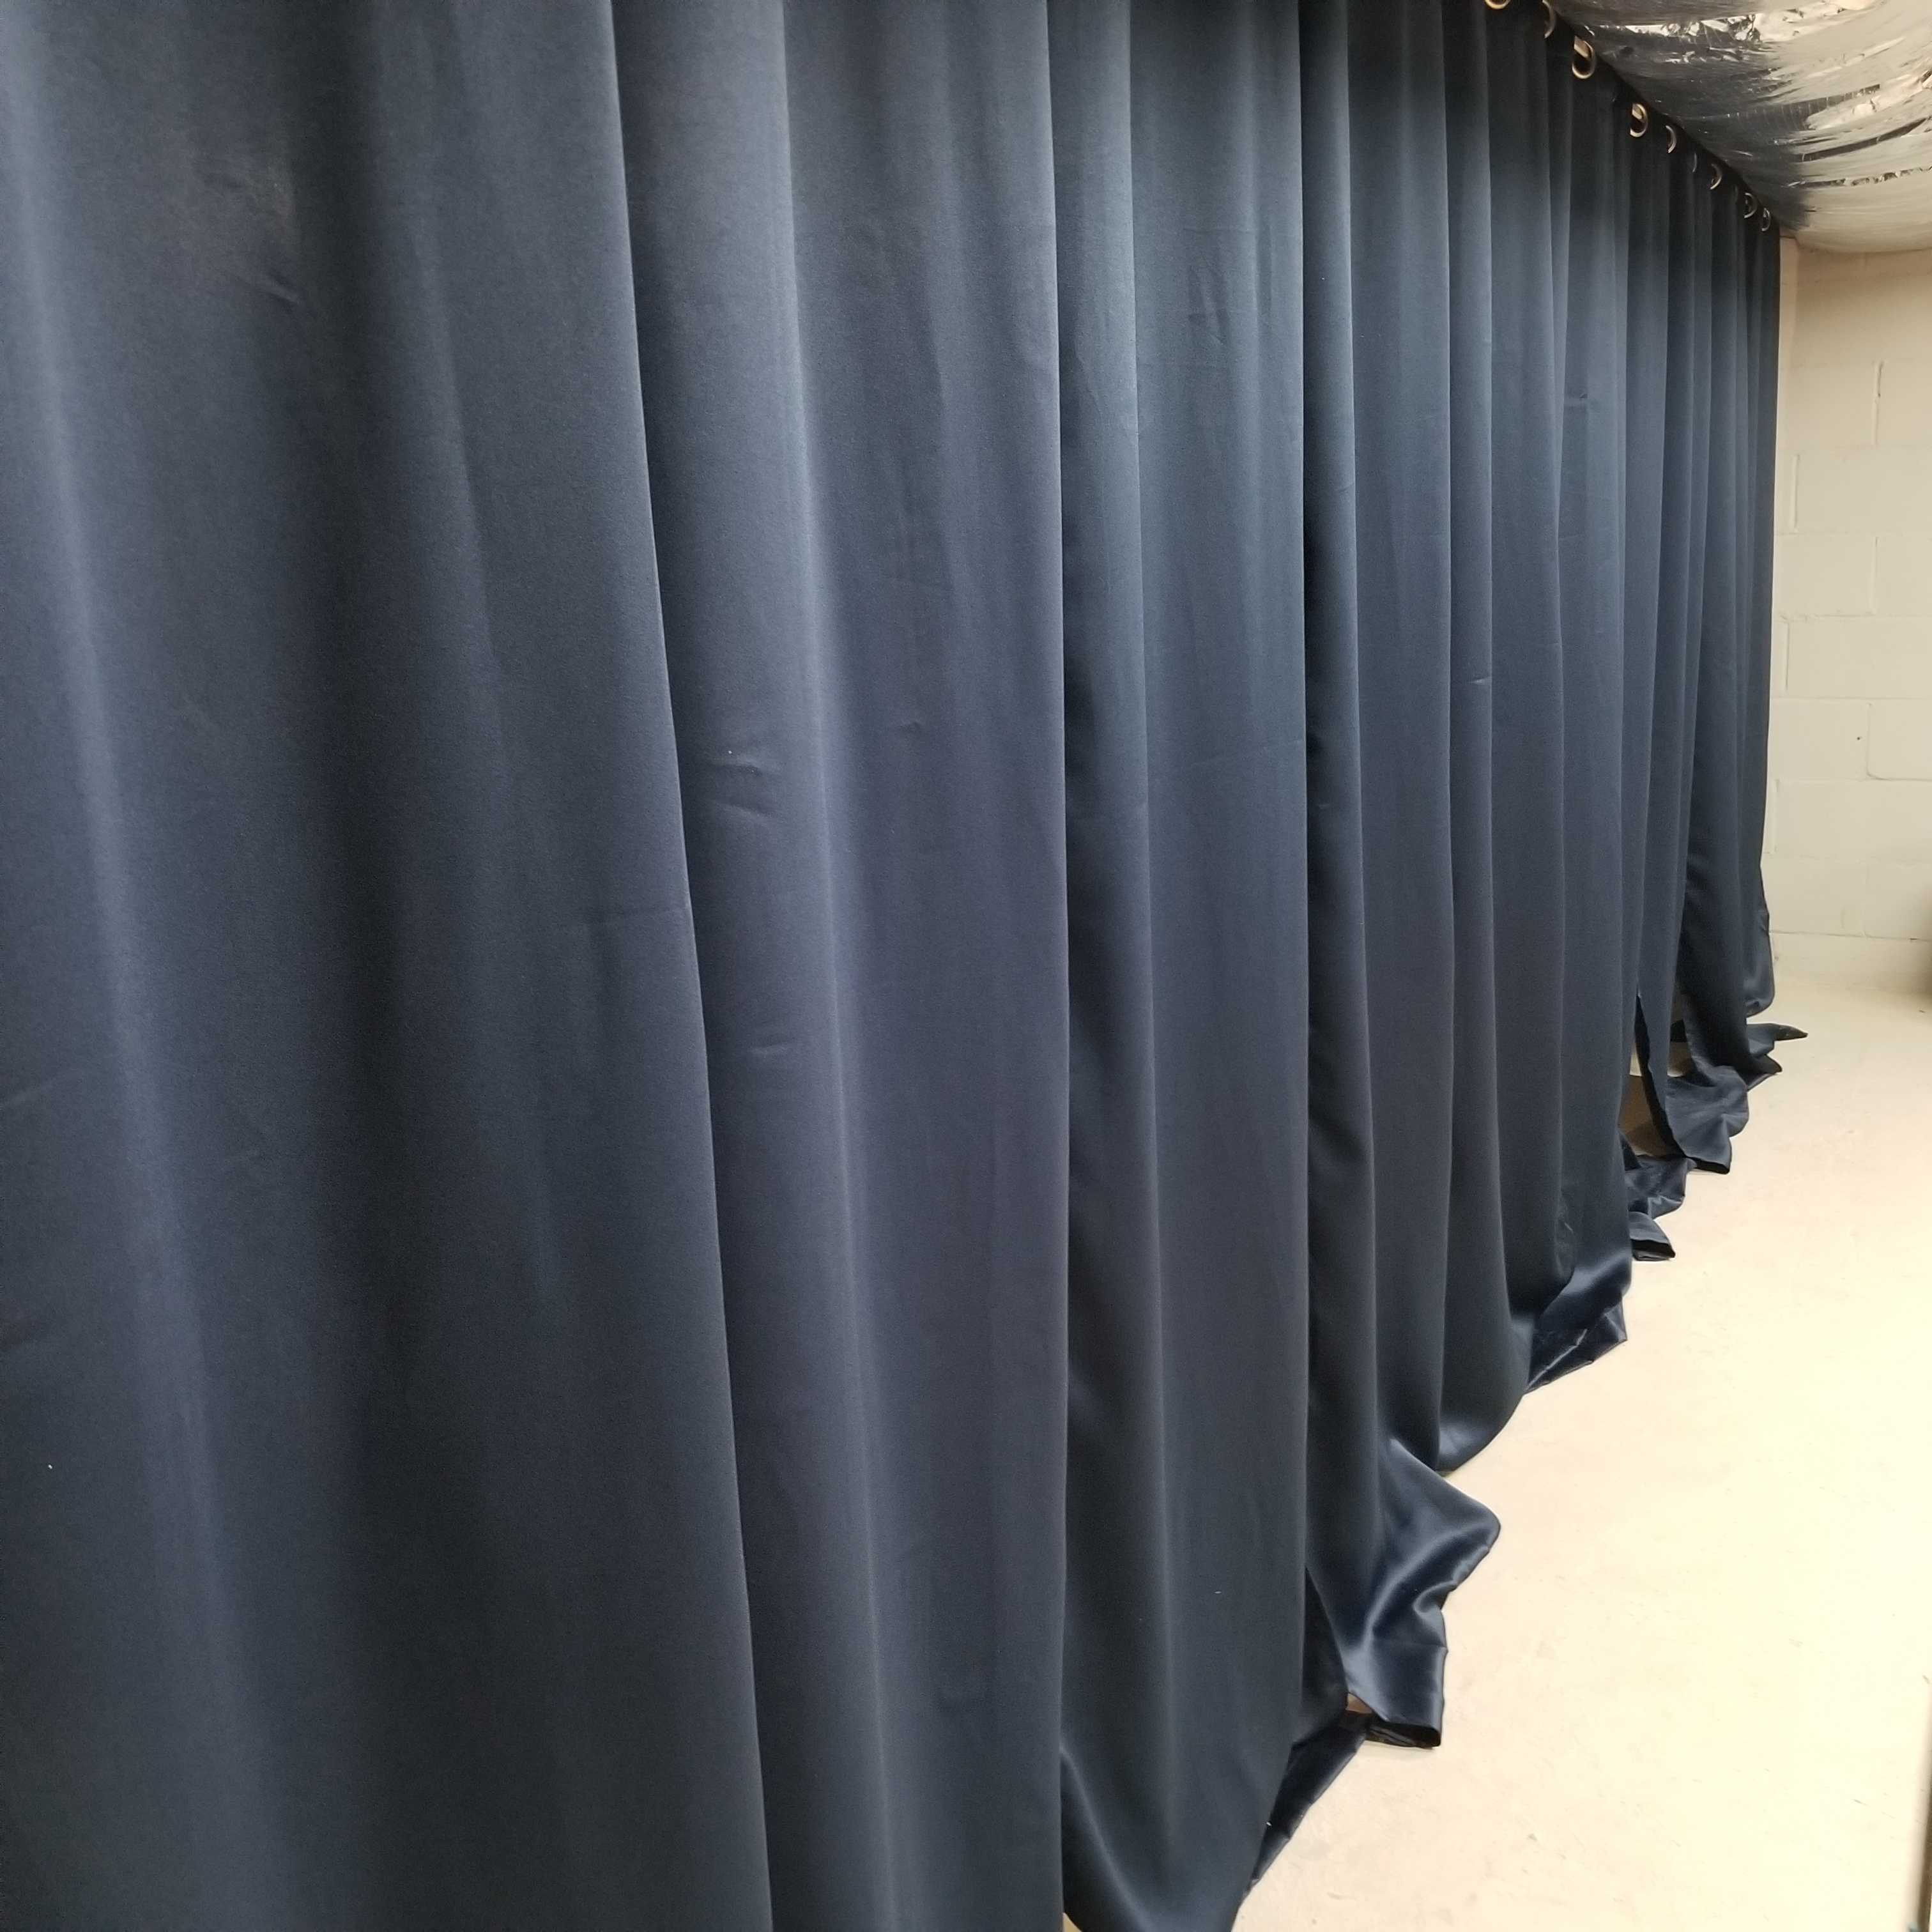
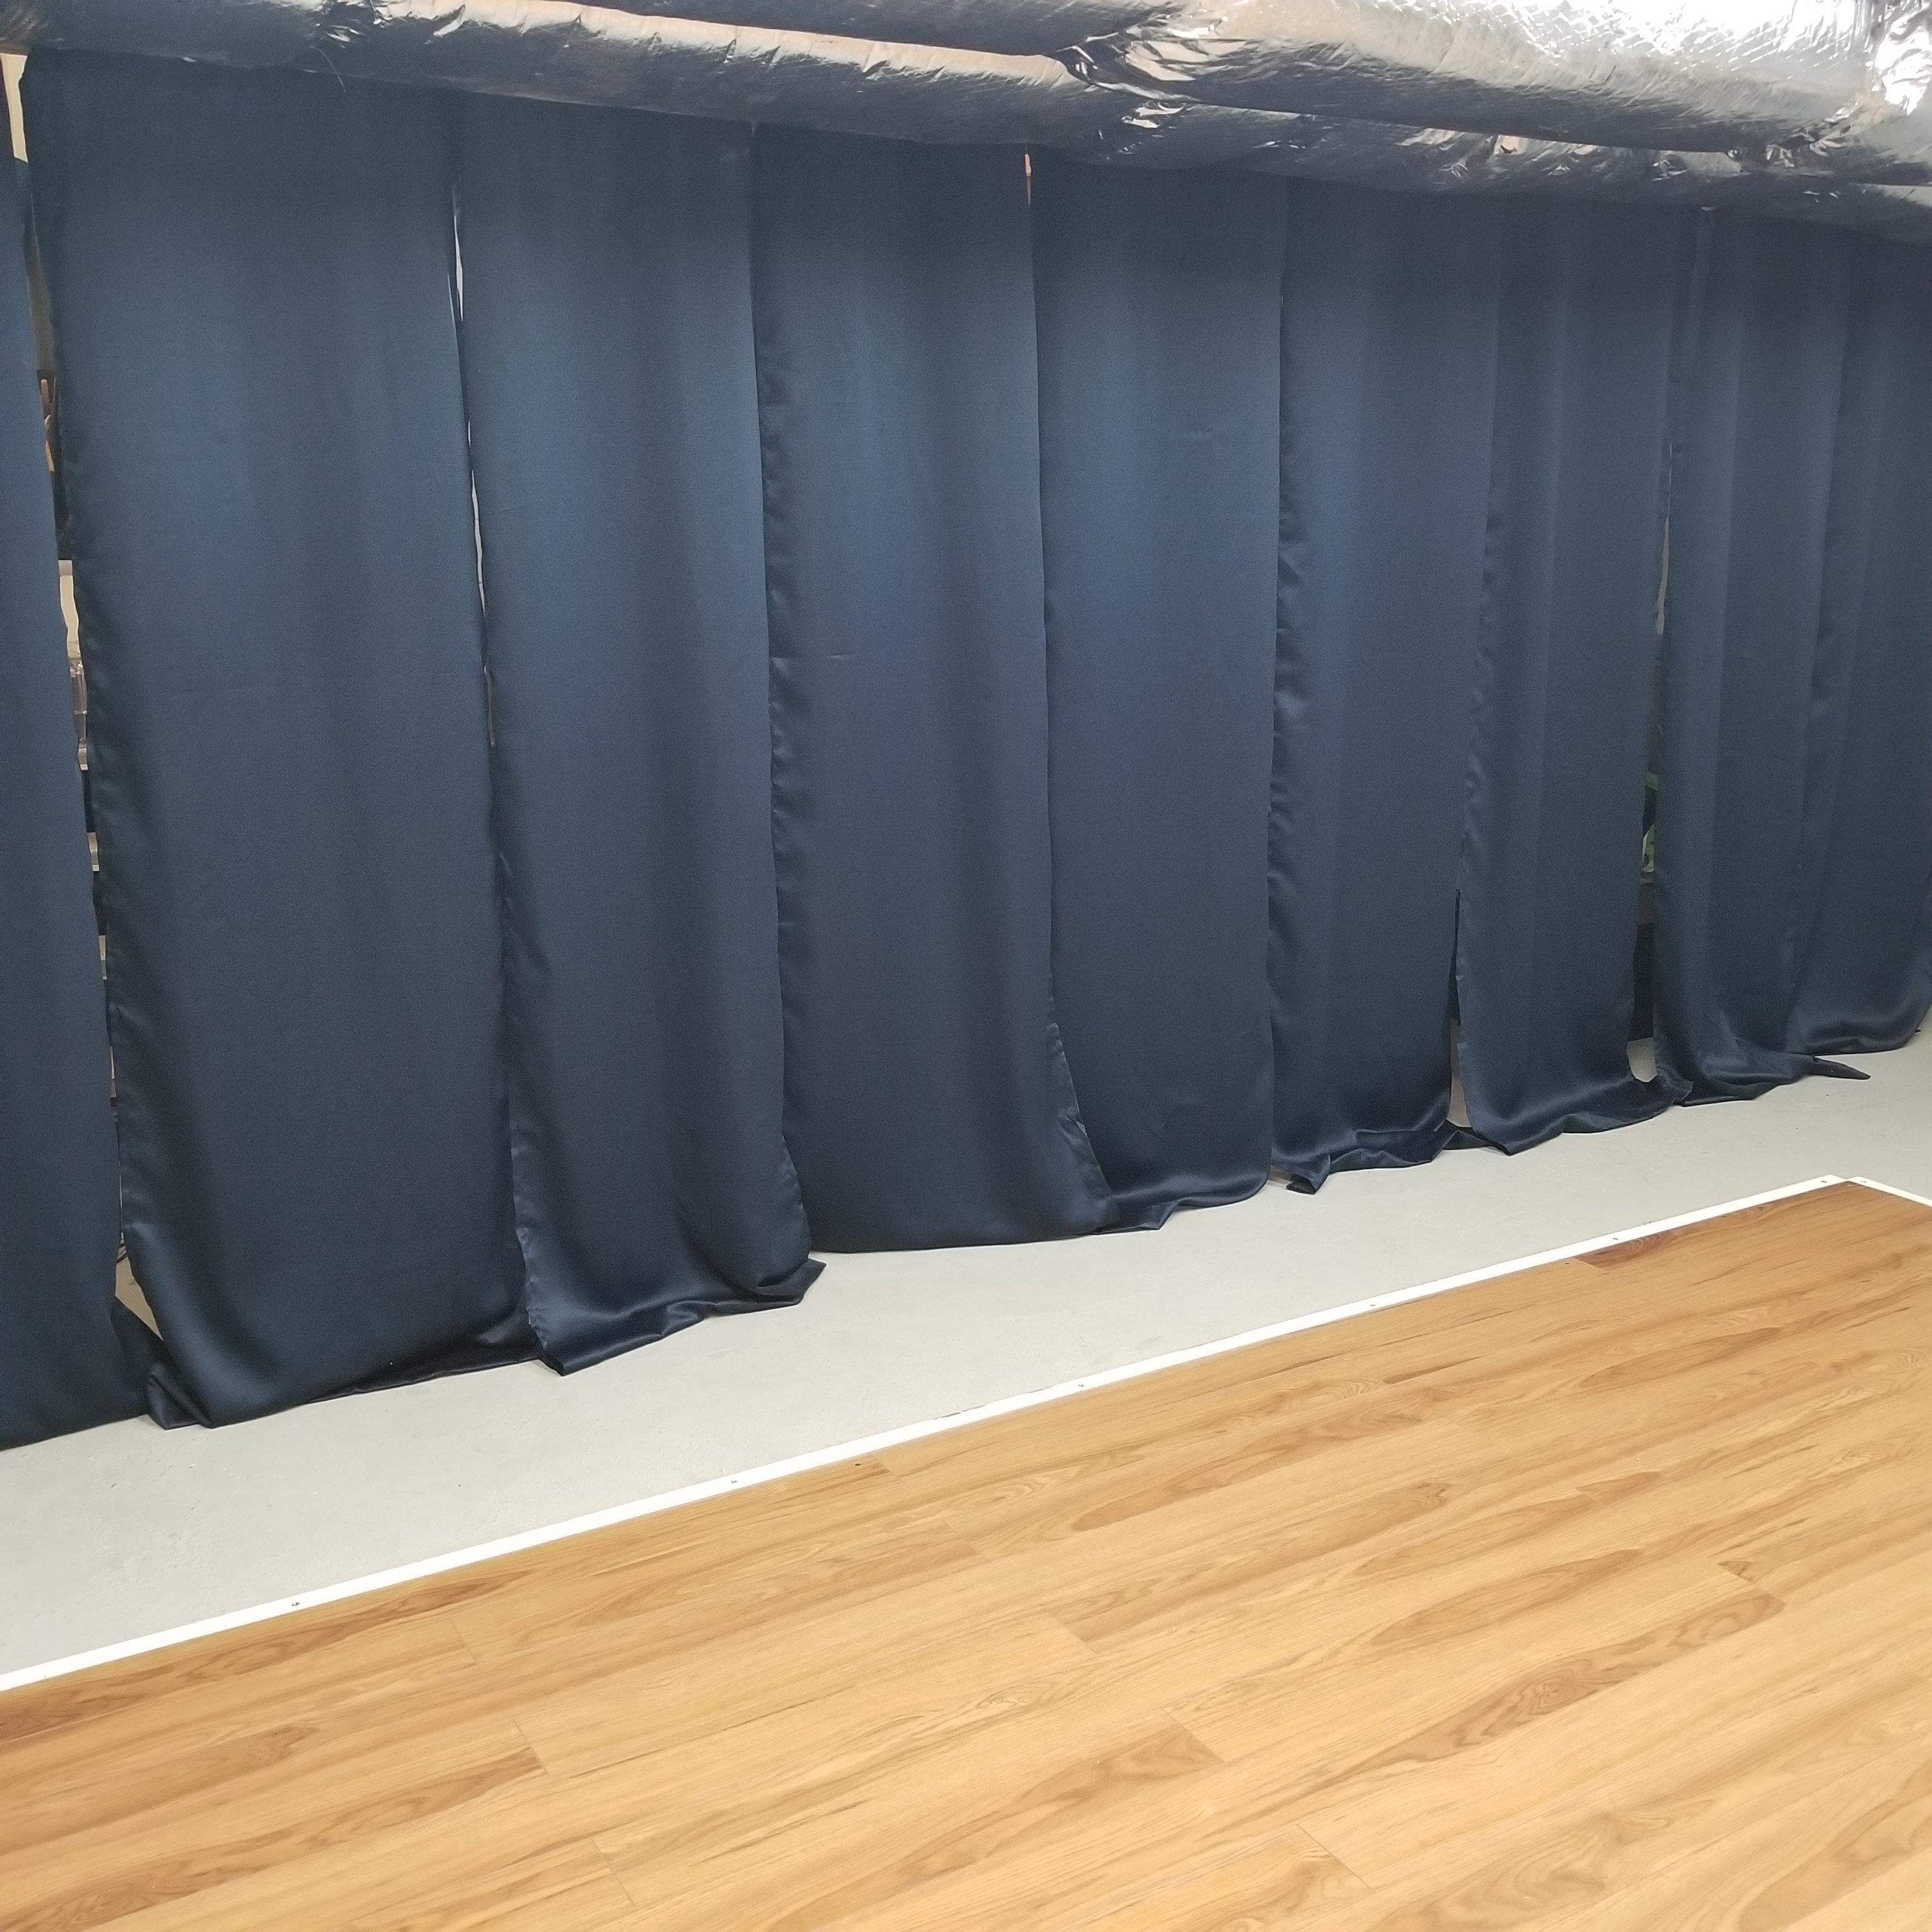
Finding curtains was easier said than done, mostly because I wanted the project finished before the girls came home from their fathers’ house in two days. How hard could it possibly be to find some cheap black curtains, right? Well, maybe my fellow New Jerseyans are obsessed with black curtains; they were not to be had in all of the stores we combed through. The best alternative within our grasp was using navy blue panels that we found at Big Lots instead (they’re so dark that they’re practically black anyway). After hanging them up, it took about an hour to steam them (ironically, wrinkles in clothes don’t bother me nearly as much as the wrinkles in these curtains did). And just like that, we were done!
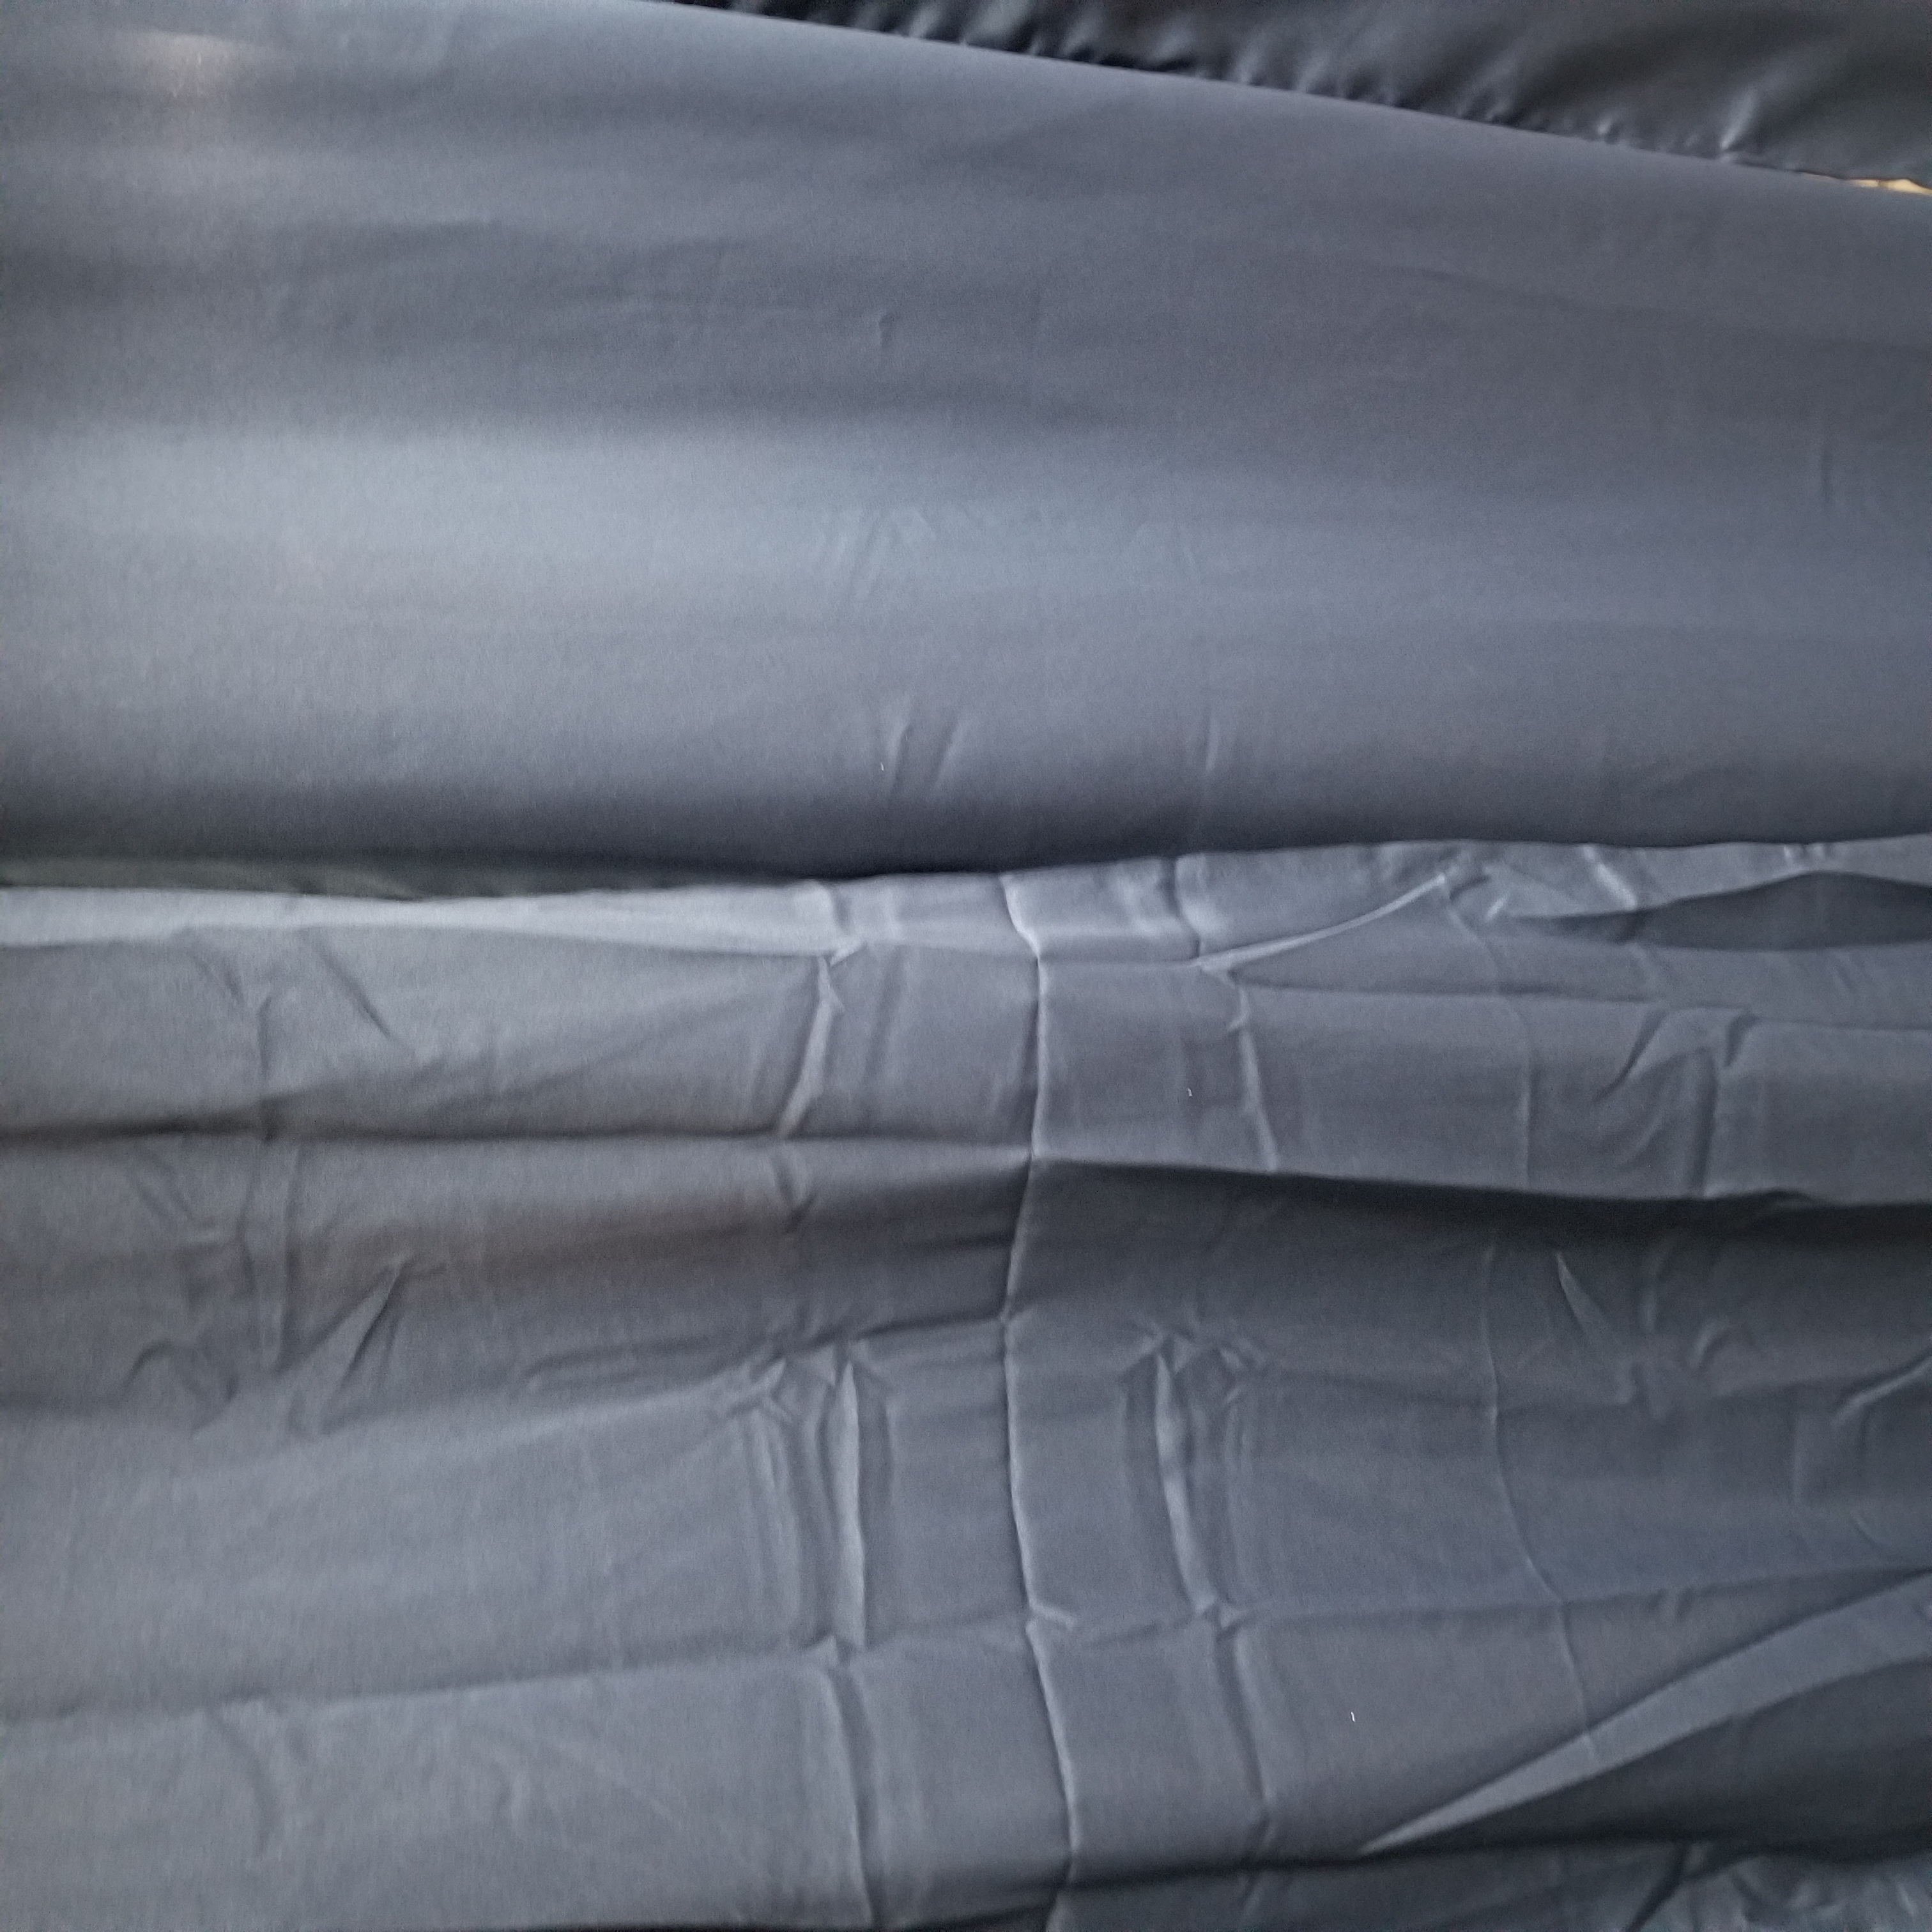
Well, almost. I still need to buy a box of little binder clips to keep the panels together; I’ll clip the edges together in the backs of the curtains, so no one will be able to see them. Yes, I could sew them, but I don’t have a machine myself and I have no sewing skills to speak of whatsoever anyway. We’ll see if that works; if not, I’ll figure it out.
The Big Reveal
When my girls arrived home, I covered their eyes and brought them downstairs for the big reveal (I MAY have accidentally let them trip over a random item or two, which I still feel badly about). On the count of three, they took off their blindfolds and one said, “I KNEW IT!” Honestly, it was a little anticlimactic because I had been talking about installing curtains for a few months so they expected it. But they were still delighted with the new backdrop, and mentioned that their instructors wouldn’t see the random basement nonsense anymore if they have to go back to Zoom classes.
In hindsight, it’s interesting to see what a difference a few curtains could make. Their little dance space looks so much more professional now, and the whole project cost less than $100. I’m keeping my fingers crossed that dance classes will continue to be conducted in person, but I do feel relieved that we can make it happen here at home if we need to go virtual again.
Thank you to Dave of DJC Engineering for his time, expertise, effort, and patience with his inept assistant (that’s me). My girls are truly blessed to have such a loving “dance dad” that supports and encourages them like they were his own.
Work hard, have fun! – Danielle
